Last night, I received an email notification that my blog site application for Google Adsense has been approved, and the process was relatively smooth. So this article will summarize how to access Google Adsense on my website.
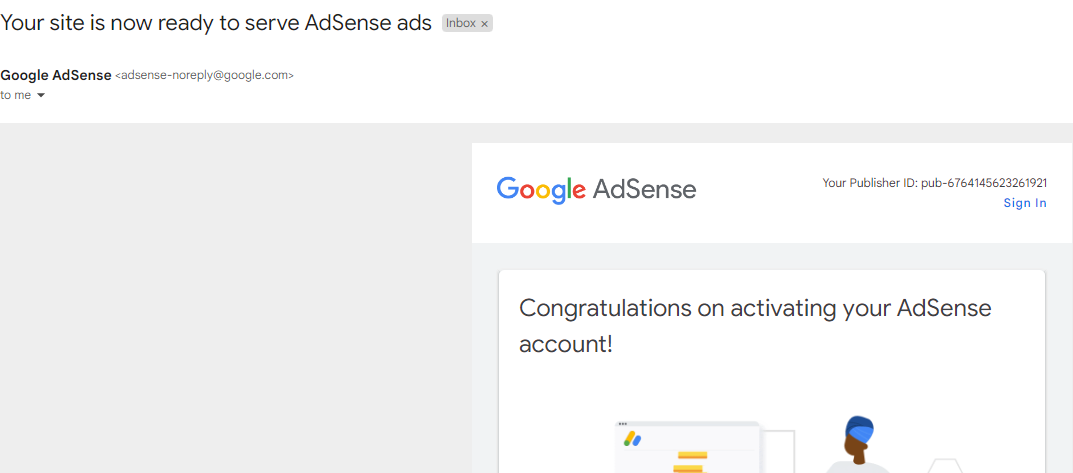 |
| Google Adsense Activated |
1. Add ads.txt file
To access Google Adsense, first I have to solve a mistake, that is, there is no ads.txt file in the root directory of our website (this file is similar to robots.txt file, if you don't know robots.txt, you can check the article "What is Robots.Txt file"). This is because when our website requests Google ads, Google Adsense will check whether our website contains ads.txt file in the root directory, and Google will only return ads to our website if the file is present and in the correct format.
 |
| Fix ads.txt Risk |
The solution is simple, just click on the "Fix Now" option and download the Ads Code provided to us by Google Adsense.
 |
| Ads Code |
Then create an ads.txt text file and paste the Ads Code we got from Google Adsense backend into it and save it. This way an ads.txt file is created and uploaded directly to the root of the site via FTP. The rest of the work is to wait for Google Adsense to re-crawl the content, which usually takes half an hour to fix the risk.
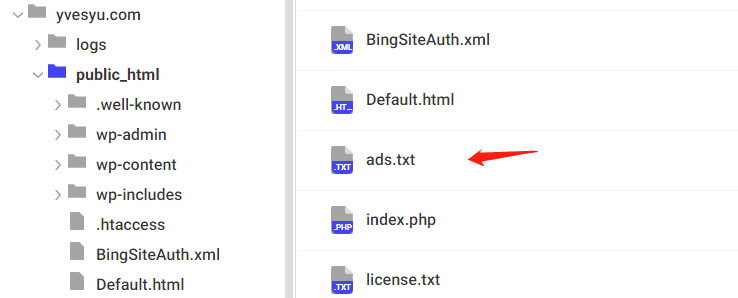 |
| Ads.txt Upload |
After the file is uploaded, you can enter the address https://yvesyu.com/ads.txt into your browser to see if the file was uploaded successfully. Google Adsense automatically checks for new and updated ads.txt files, and it may take up to 24 hours for the system to change the record if the ads.txt file is updated or removed.
2. Manually add ads
One of the nice advantages of adding ads manually is that I can control where the ads are displayed and in what style. The way to create an ad is relatively simple, just click "By ad unit" and select the type of ad we want to create.
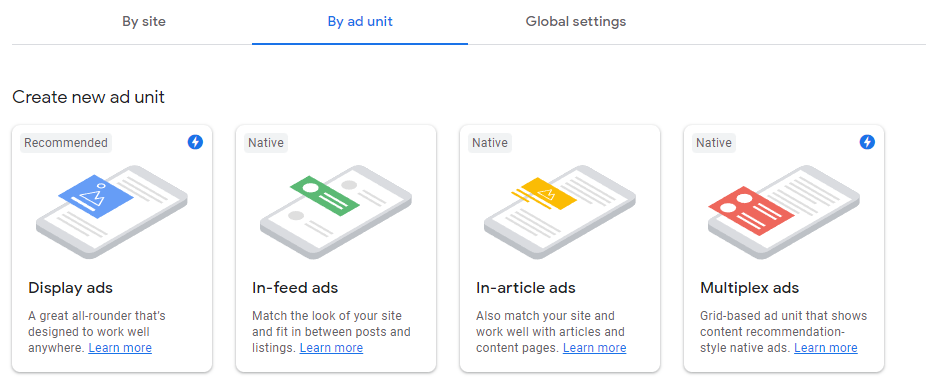 |
| By ad unit |
All we need to do is to write some basic information about the ads, such as ad name and layout type.
Note that the "Ad Size" here must be selected as the system default, not set to Fixed, because we need the ads to be responsive to the terminal screen size and automatically adjust the size of the ads.
 |
| Ads Settings |
A manual display ad is created by clicking Create directly in the bottom right corner.
 |
| Ads HTML Code |
For example, if I want to put this display ad in the sidebar of my blog, then log into my blog backend, click "Appearance" and enter "Widgets", and paste the code generated by Google Adsense into the custom Html.
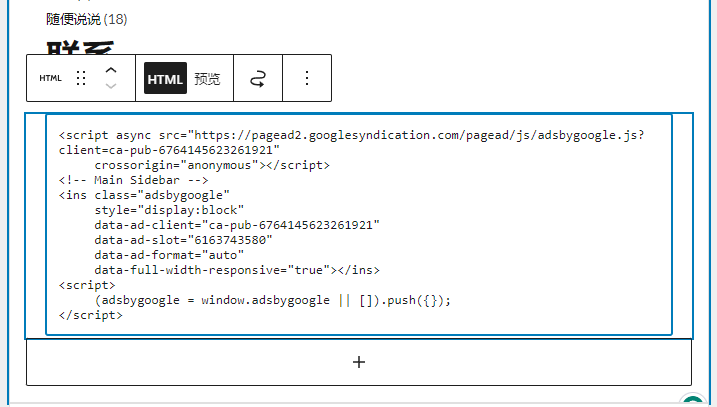 |
| Code Install |
This is how to add manual display ads to a website, but it's a real pain in the ass. If I wanted to display ads in multiple places, I would have to create and install multiple ads one by one.
That's why I still promote the use of automatic advertising to save time.
3. Automatically add ads
Adding ads automatically is as simple as selecting "By site" and choosing the site you want to set ads on.
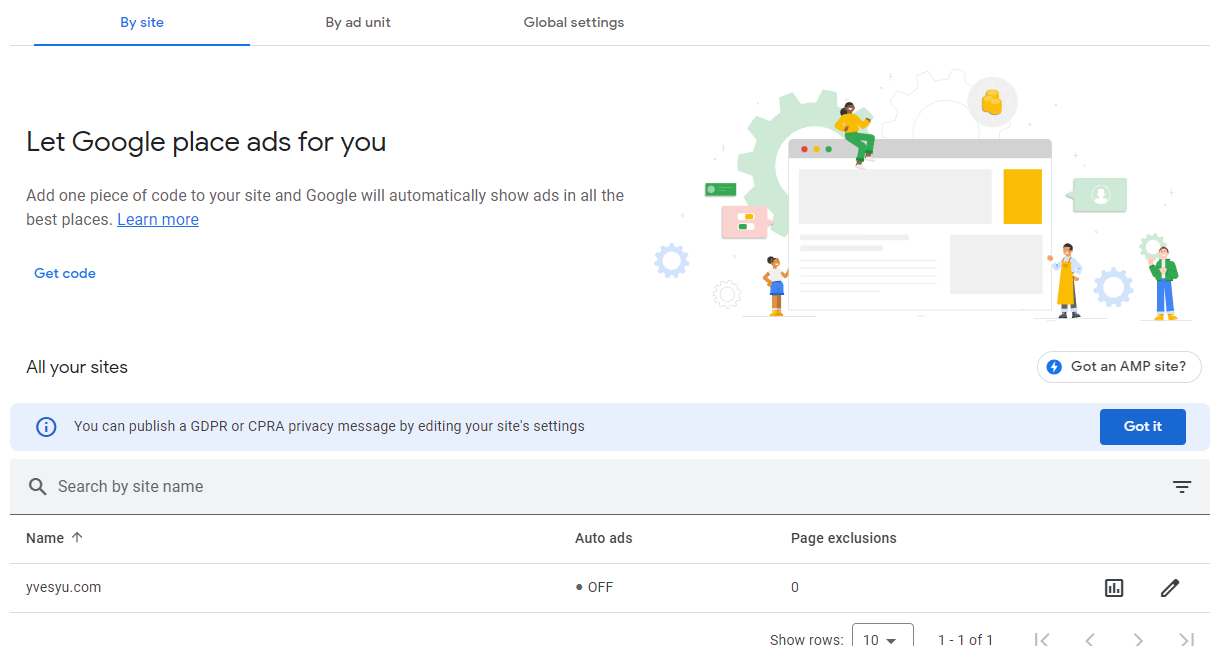 |
| By site |
Clicking Edit takes you to the preview screen of the automatic ad.
 |
| Ad Settings Preview |
At the same time, we can set some automatic advertising settings on the right side, such as: which styles to display, which pages do not show, etc. I will default to show all of them, let me familiarize myself with it first, and then optimize the ads later.
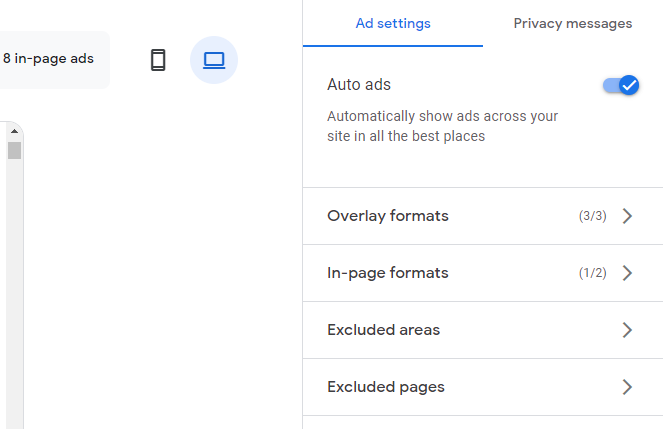 |
| Ad Settings |
After clicking on the confirmation, all we need to do is to install the code for automatic advertising on the website.
 |
| Get Code |
Copy the code and install it on my blog, I used to use Google Tag Management to install the code. If you are not sure how to install and use Google Tag Management, you can check out the article "How to install Google Tag Management code in Astra themes".
 |
| Adsense Code |
Create a new Custom HTML tag in Google Tag Management, paste the ad code into it, select "All Page" for the trigger, and save and publish it.
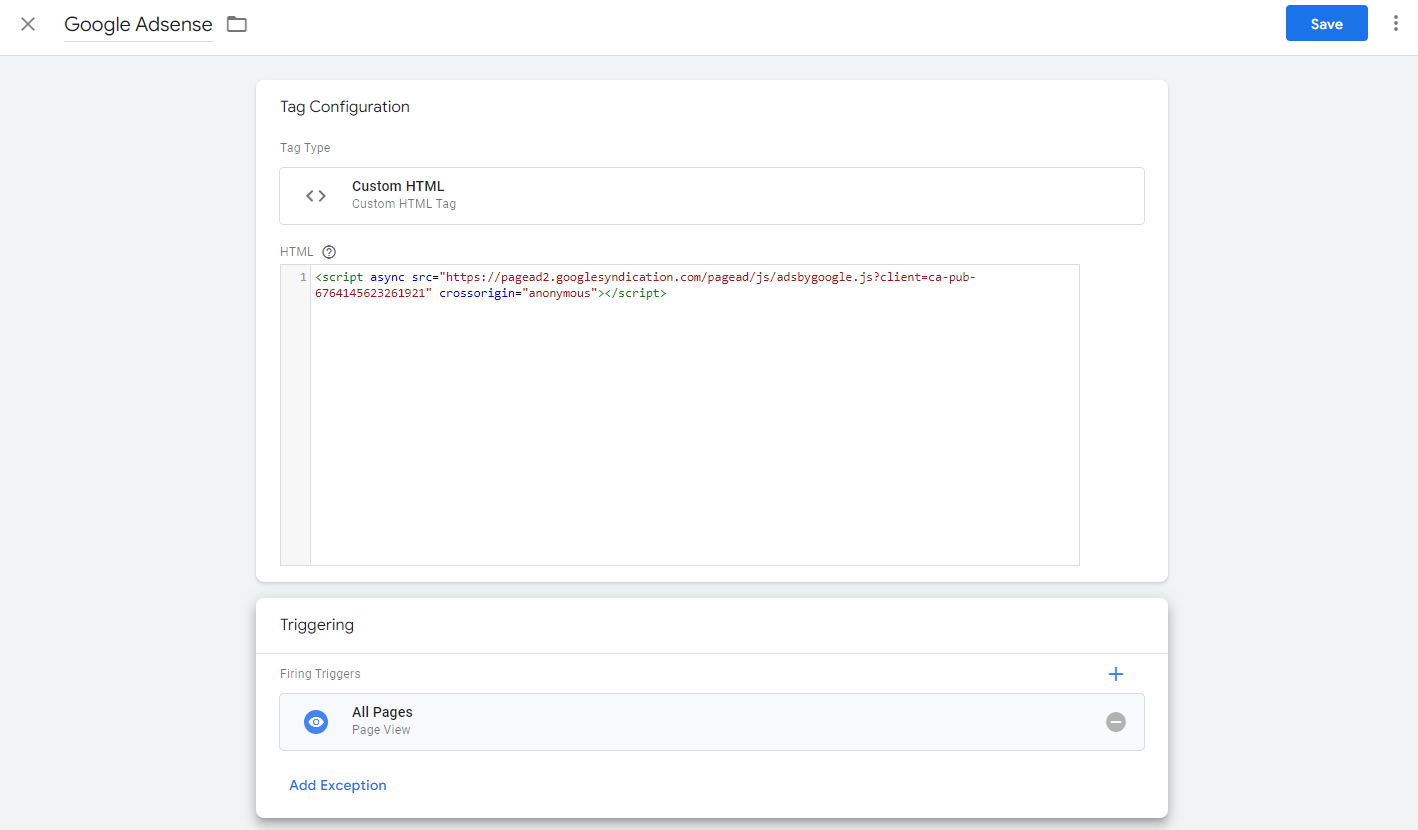 |
| Custom HTML |
This is how to install Google Adsense automatic ads.
4. Automatic optimization settings
What do you mean by turning on automatic optimization of ad size and type?
It means that Google Adsense will automatically optimize the style and size of ads on different terminals for me, so that large screens will display large ads and mobile terminals will display small ads, similar to responsive layout.
It's easy to set up, click "Global Settings" and choose to turn it on.
It is very simple to set up, click "Global Settings" and select "Let Google optimize the size of your mobile ads" to turn it on.
 |
| Global Settings |
5. Summary
- Sharing of Google Adsense audit results.
- how to fix Google Adsense Risk by creating ads.txt file.
- how to create ads manually and display them in a fixed position on the website.
- how to create ads automatically.
- how to activate the ad optimization settings.


Comments
Post a Comment